
In our Montessori classrooms we all have the beautiful sandpaper letters. As an instructor in the application of the Montessori Method I have the opportunity to visit many schools and I am seeing less and less of this important material in the hands of the children! Yes, it does require some one-on-one with all 26 letters, but the benefits of this work are great! The presentation not only presents the sound of each letter to the children, but also a sensorial experience of how the letter is formed.
“When I worked with the children the movements characteristic of writing by having them touch the letters with their fingers, I exercised mechanically the psycho-motor paths, and fixed the muscular memory of each letter…..the child touched the letter, not only with the index finger of his right hand, but with two, the index and middle finger. In a third period, he touched the letters with a little wooden stick, held as a pen in writing.” (Maria Montessori, The Montessori Method, p. 268)
Throughout my own teaching experiences and attendance at Montessori workshops, I have seen some wonderful variations with this material:


Basic: After tracing the sandpaper letter, writing the letter in a tray of sand.
Teacher Directed: Crayon Rubbing of the Letter to Create a Book of Sounds

After tracing, pin pricking the letters and creating a booklet

Tracing the sandpaper letter and then writing it on a chalkboard
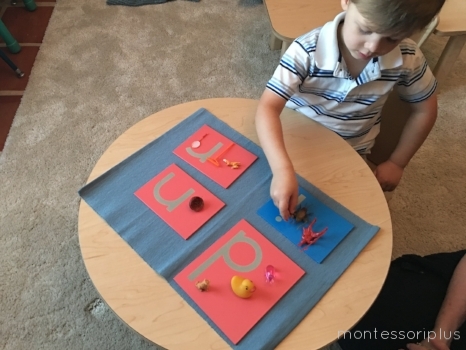
Sandpaper Letter with Objects for Beginning Sounds

Sandpaper Letters and Write and Wipe Boards
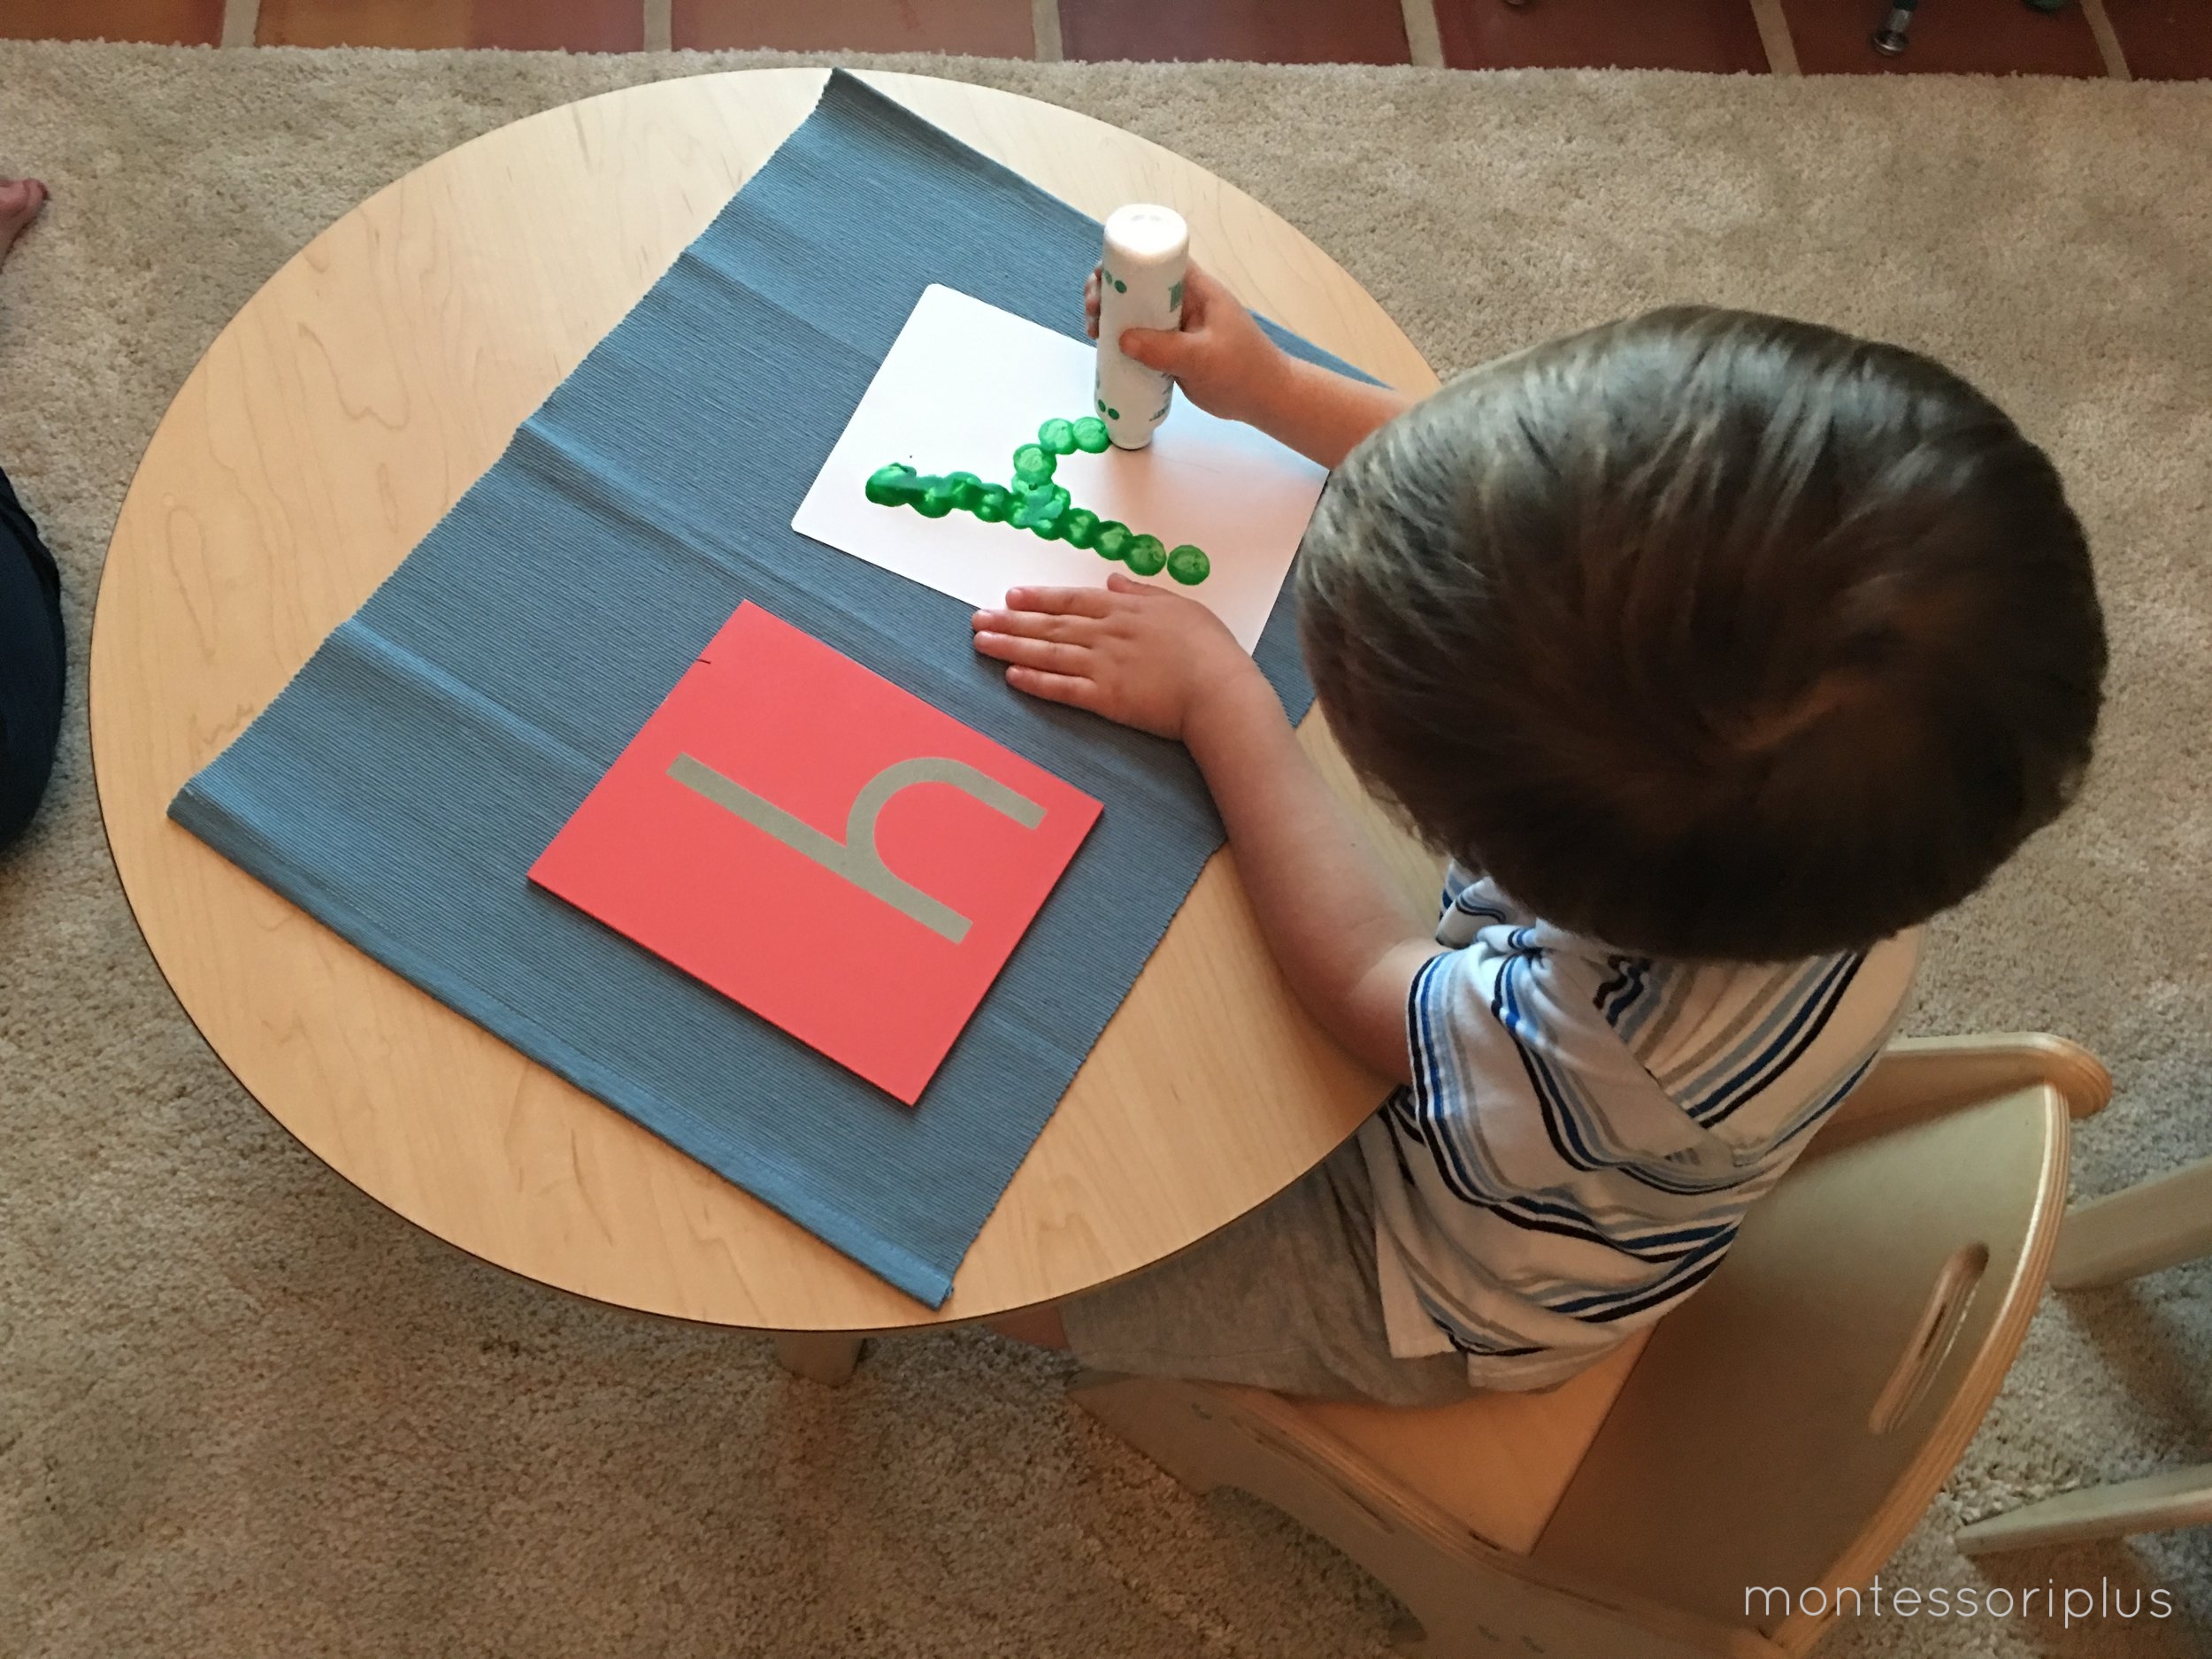
Sandpaper Letters and Do-A-Dots

Alphabetical Order Layout!
I hope to encourage you to bring these materials back to life by beginning with the initial presentations and then encouraging practice with a few variations. The sandpaper letters develop a secure knowledge of the sounds and letter formation which are the foundation for reading and writing. Enjoy!!